
How to Work a Field Install Ticket
Document Type: Standard Operating Procedure | Audience: Project Manager / Service Desk | Source: Scribe capture by Danielle Mosley
This page covers triaging a Field Install ticket from the unassigned queue through to routing it for items or staging. Once the ticket comes back to your queue with the asset ready, continue with How To Schedule A Field Install Visit.
1. Open the ticket
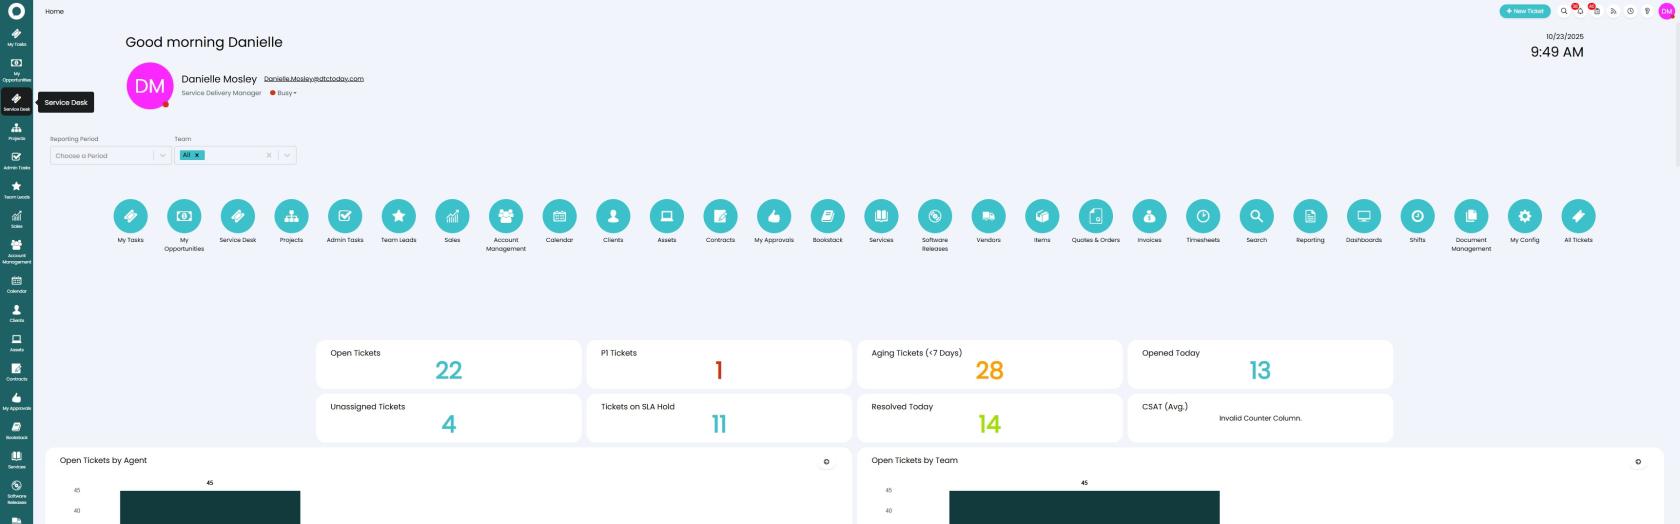
Step 2. Click Service Desk.
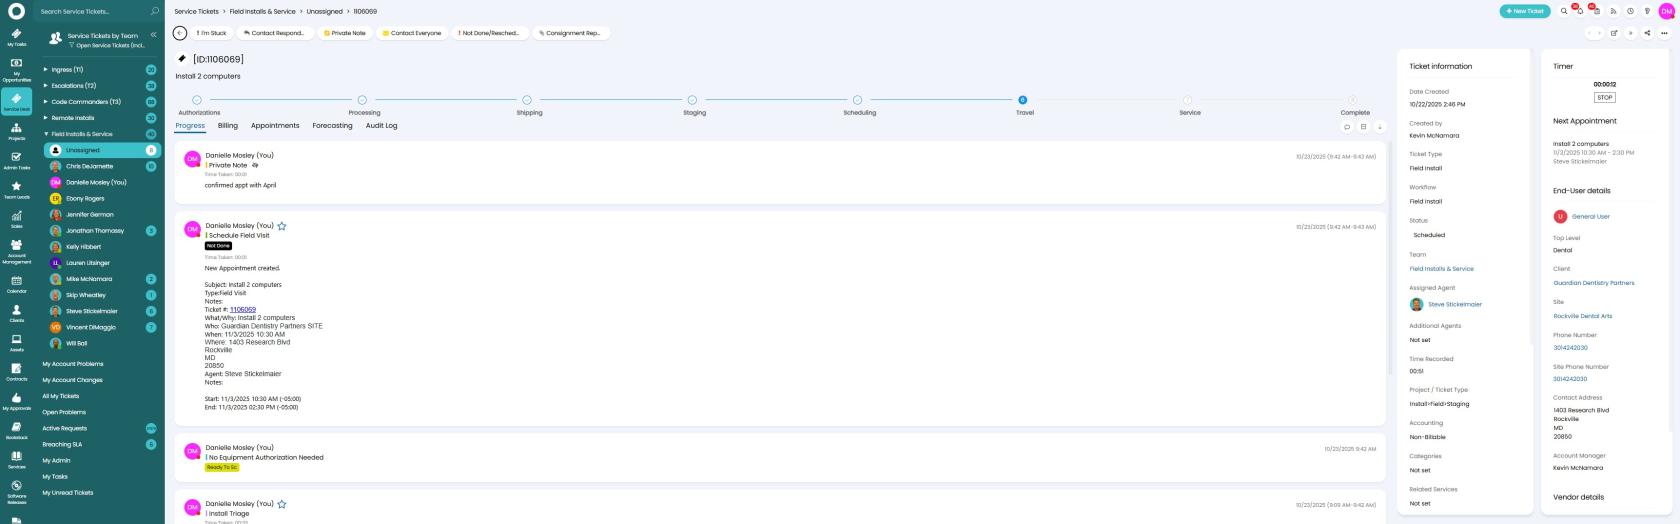
Step 3. Click Field Installs & Service.
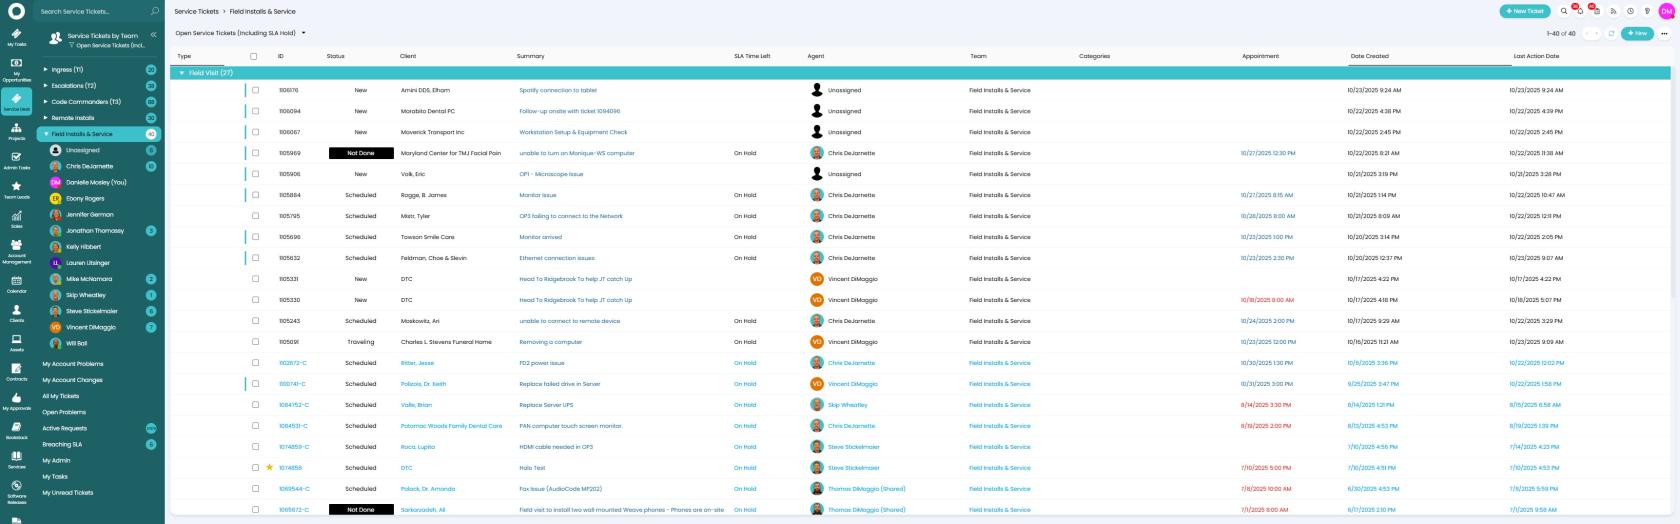
Step 4. Click Unassigned.
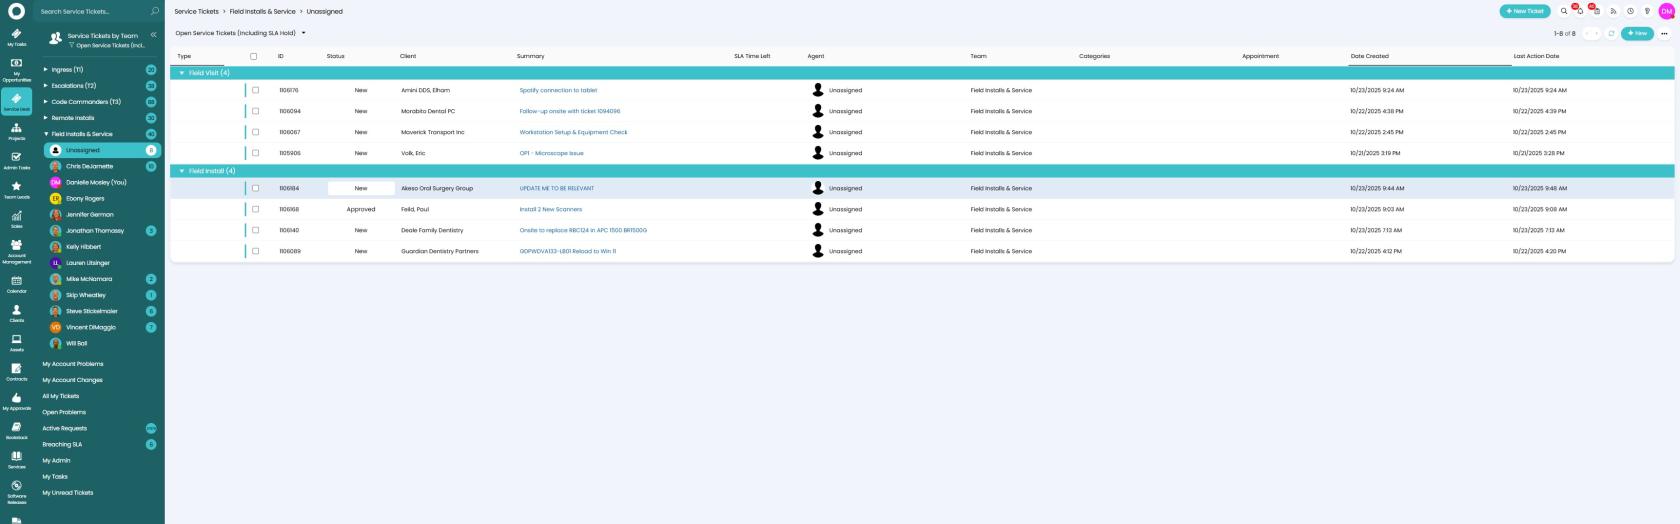
Step 5. Click the ticket number of the Field Install ticket. Field Install tickets are grouped separately from Field Visit tickets in this view.
2. Triage
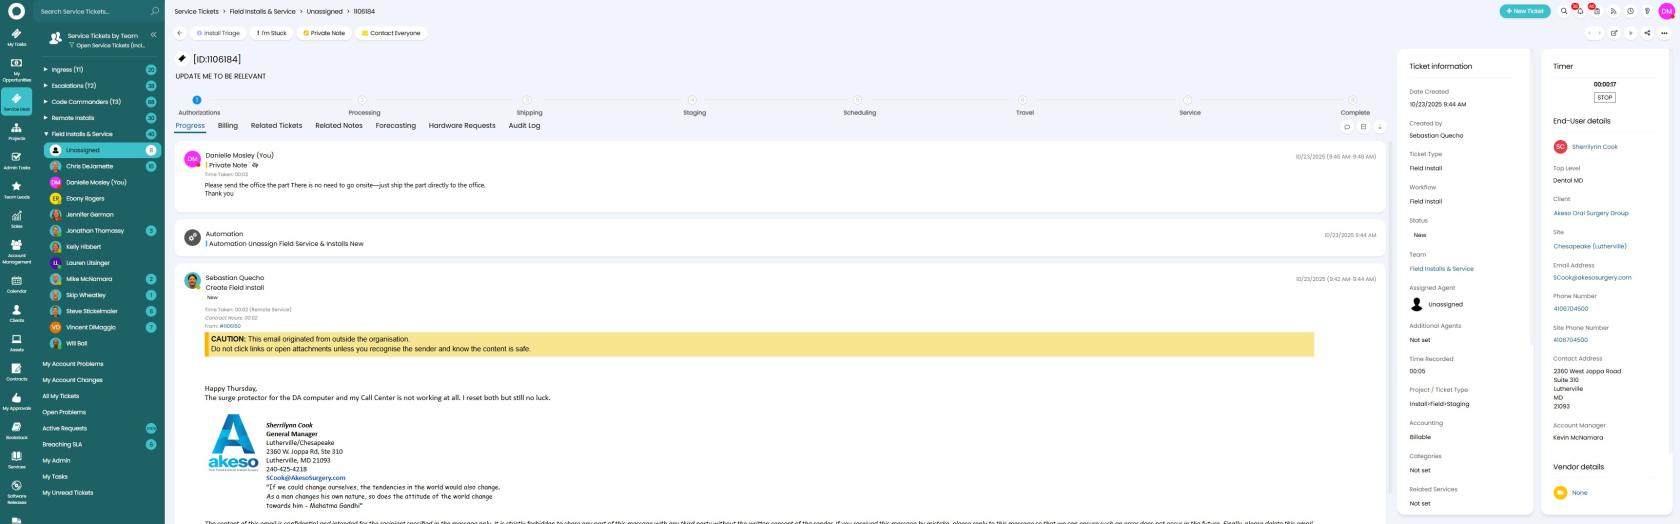
Step 6. Click Install Triage.
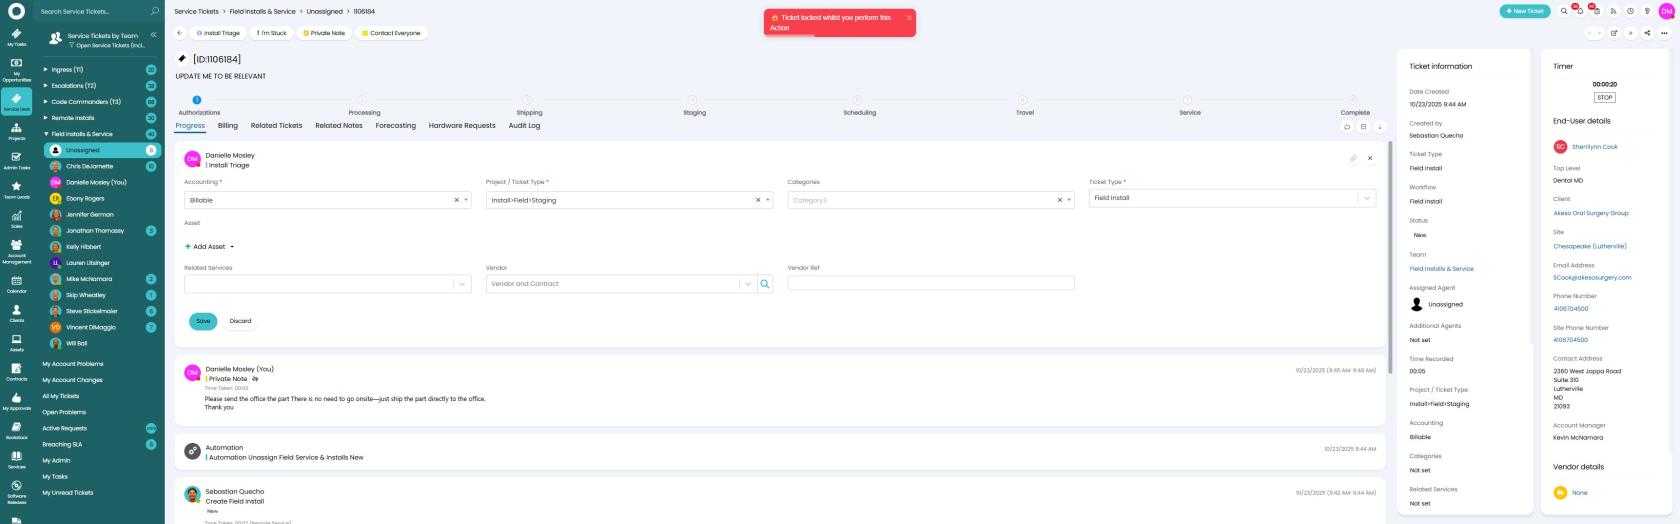
Step 7. Click the Accounting * field.
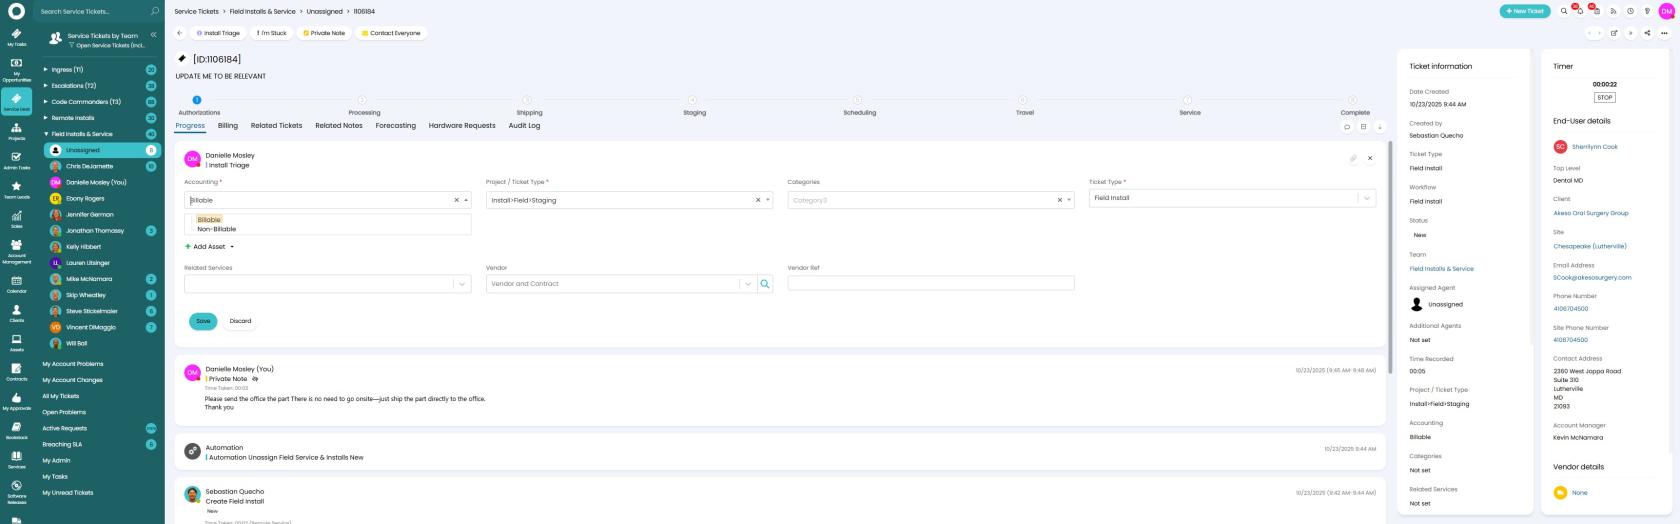
Step 8. Select Billable or Non-Billable.
- Billable — if there is an authorization on the ticket.
- Non-Billable — if there is no authorization on the ticket.
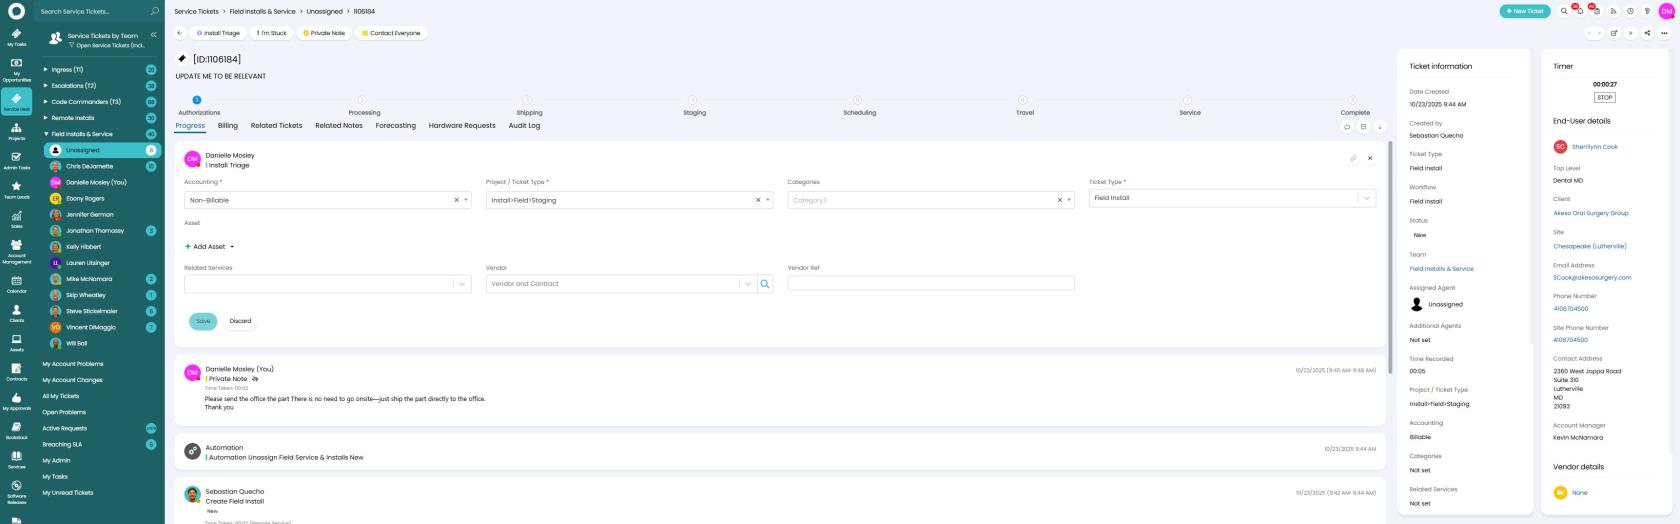
Step 9. Click Save.
Step 10. Click No EA Needed, or Send EA if an equipment authorization is required. See "How to Make and Send Equipment Authorizations" for that process.
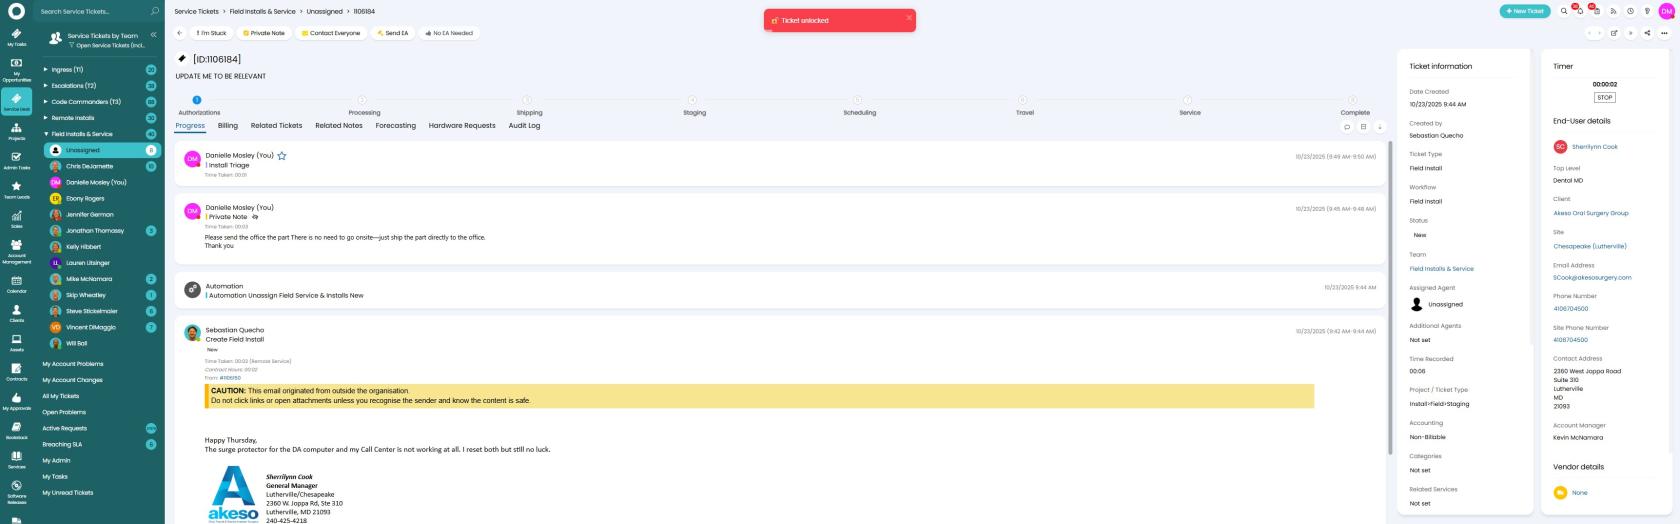
3. Route the ticket
Step 11. Choose the routing action:
- Need Items — for anything that has to be ordered. The hardware should already have been selected by the service tech in the Hardware Request tab.
- Needs Staging — for equipment such as a BDR or a PC. This sends the ticket to the Asset Admin.
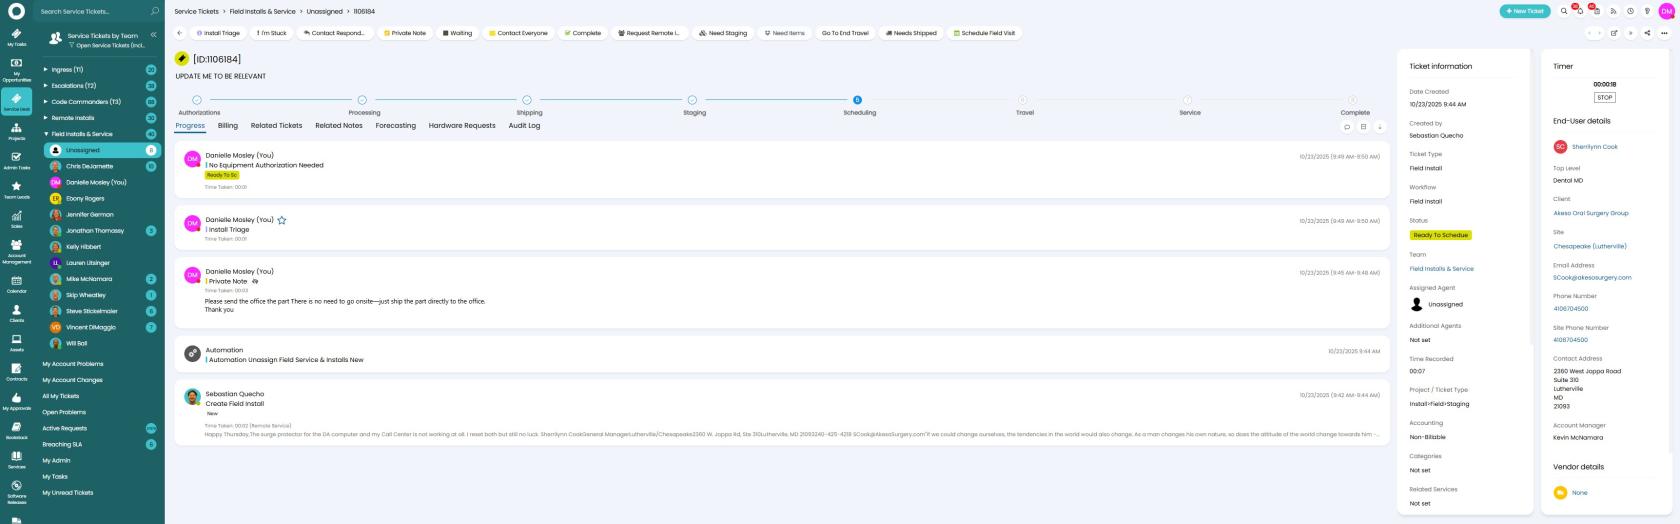
Step 12. The Ticket Information panel will display the updated status and who the ticket went to.
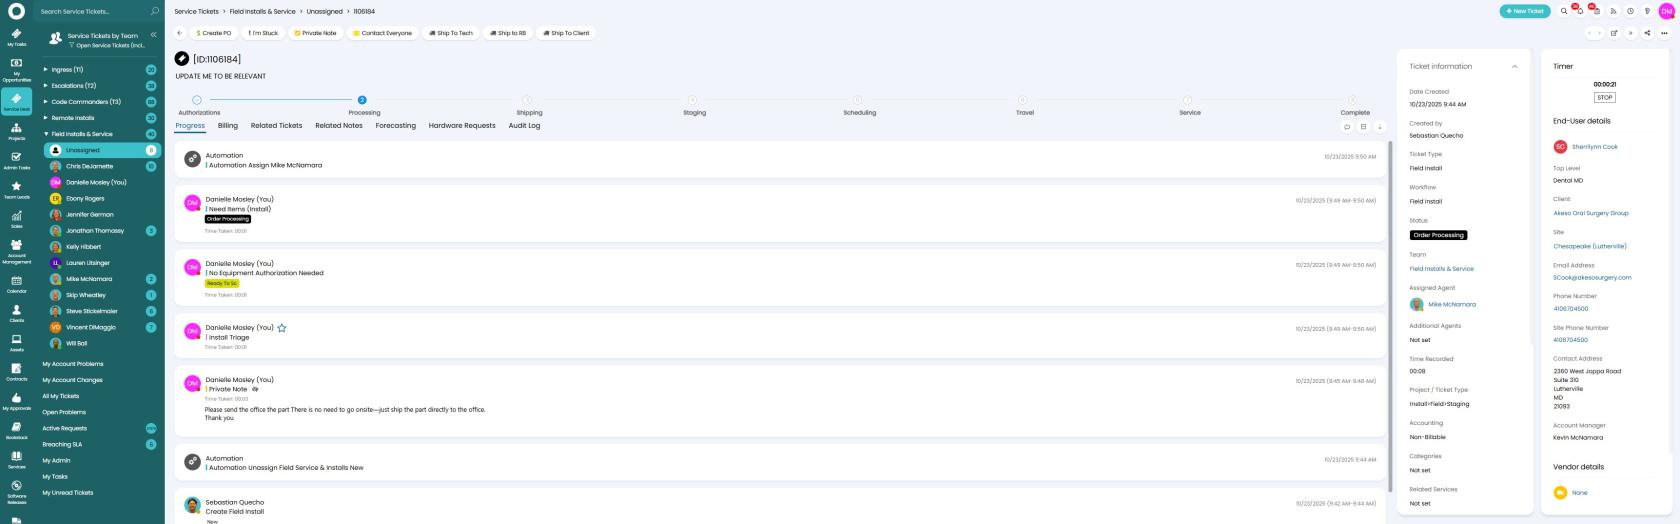
Tip: Once the asset is ready, the ticket will automatically be returned to your queue.
Related Pages
- How To Schedule A Field Install Visit — the next stage, scheduling the visit once the asset is ready