Site & Users - Adding Assets and Network Login to Users
Summary
The goal of this document is to explain the process for adding an Asset and/or Network Login to specific Users under Clients in HaloPSA. Some offices will have users that have specific workstations they work at all the time. Additionally, some users will have unique logins(network logins) that they use when accessing workstations. Tracking this information is possible in HaloPSA and can help with identifying and troubleshooting problems quicker.
Below will cover how to accomplish both pieces. Additionally, a video is attached to walk through the process as well.
Adding Asset to HaloPSA User
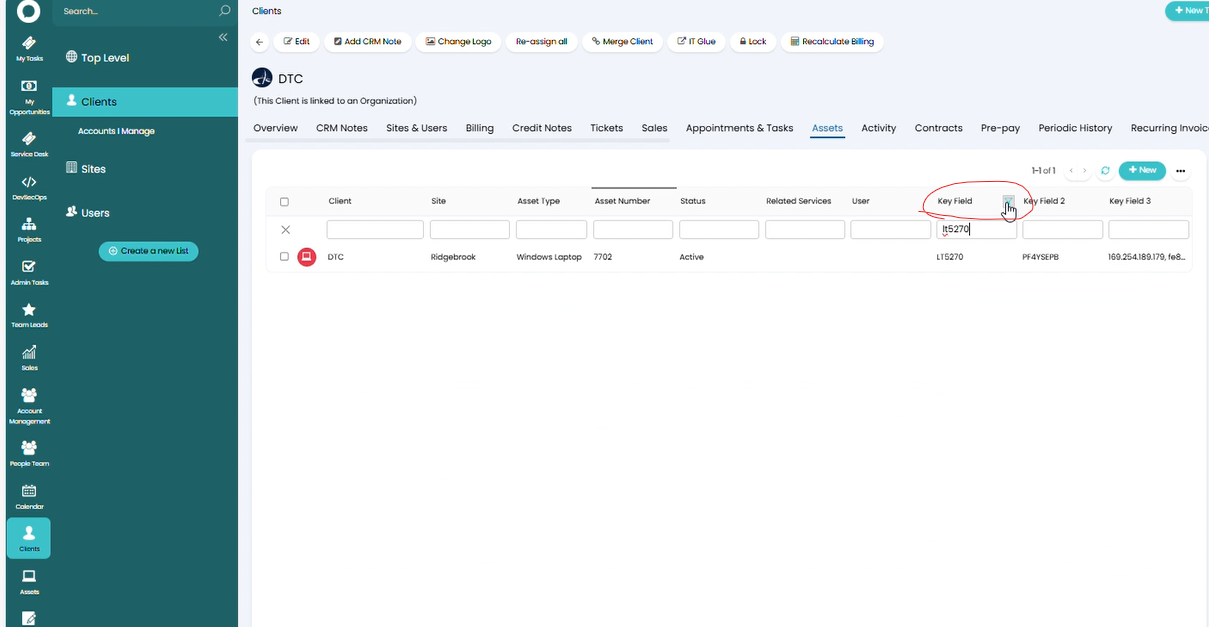
- Sign into HaloPSA and open the client in question.
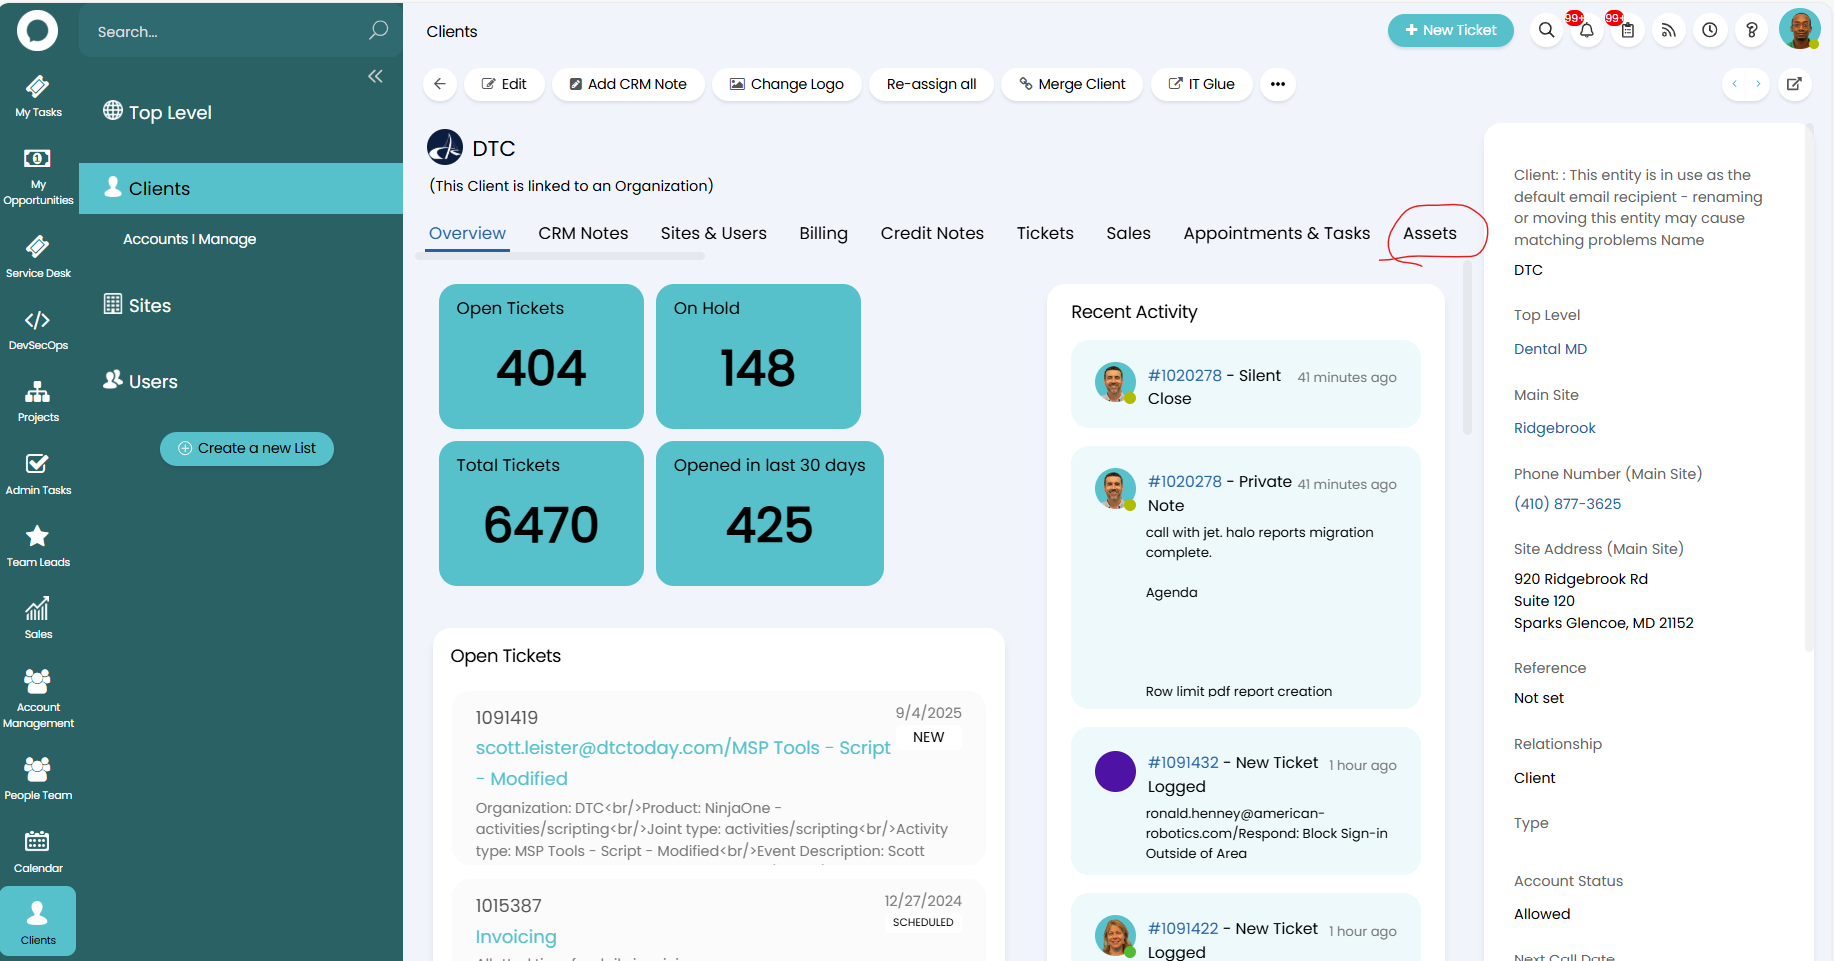
- Under the client name, find the tab for Assets and select it

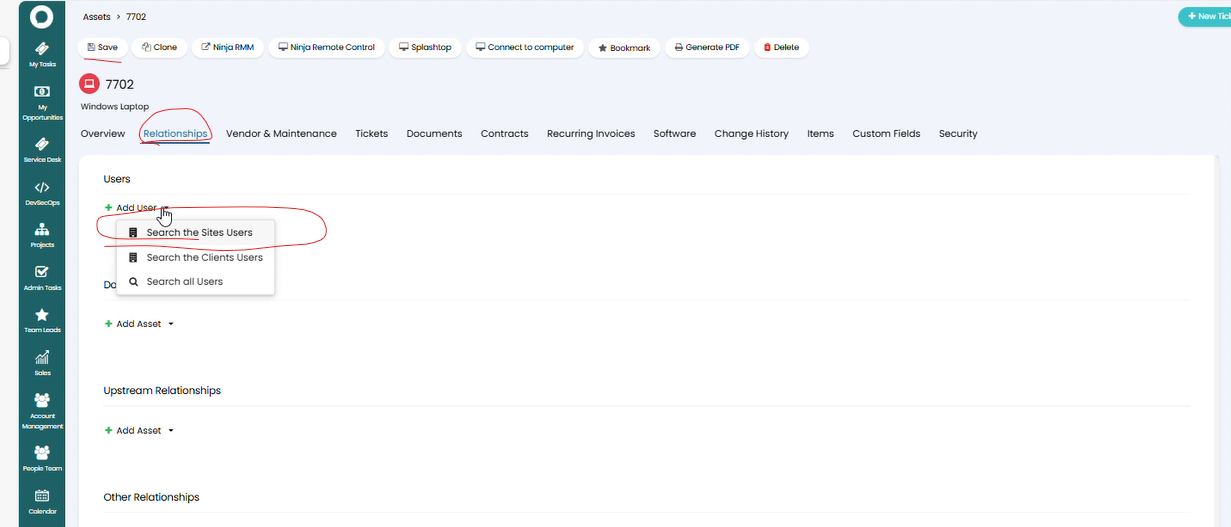
- Search for the workstation of the user and double click it to select it. An easy way to do this is to use the Key Field section and search for its name.
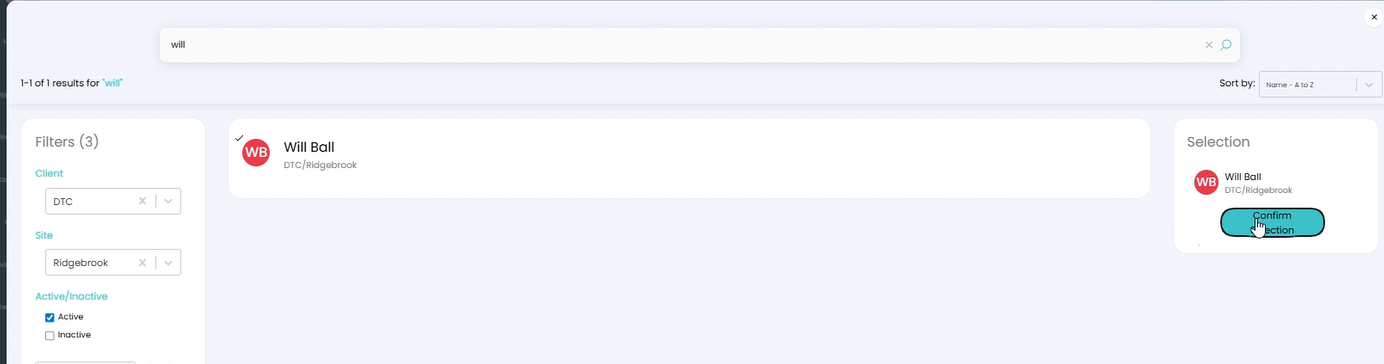
- Select the edit button at the top. Section the Relationship tab and then press the add user button. Select search the sites users next.

- Search for the user. Click on the user to select it(check mark will appear). Select confirm selection to the right.
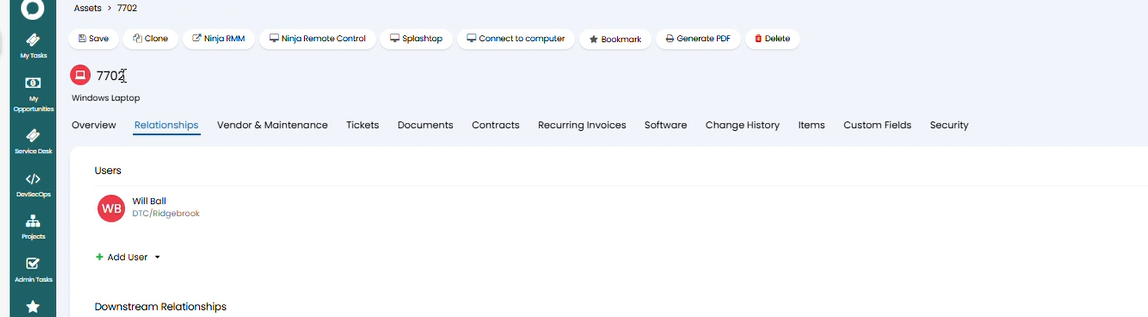
- Confirm the user shows up under the user section. Make sure to it the save button at the top. At this point the computer is tied to the user.


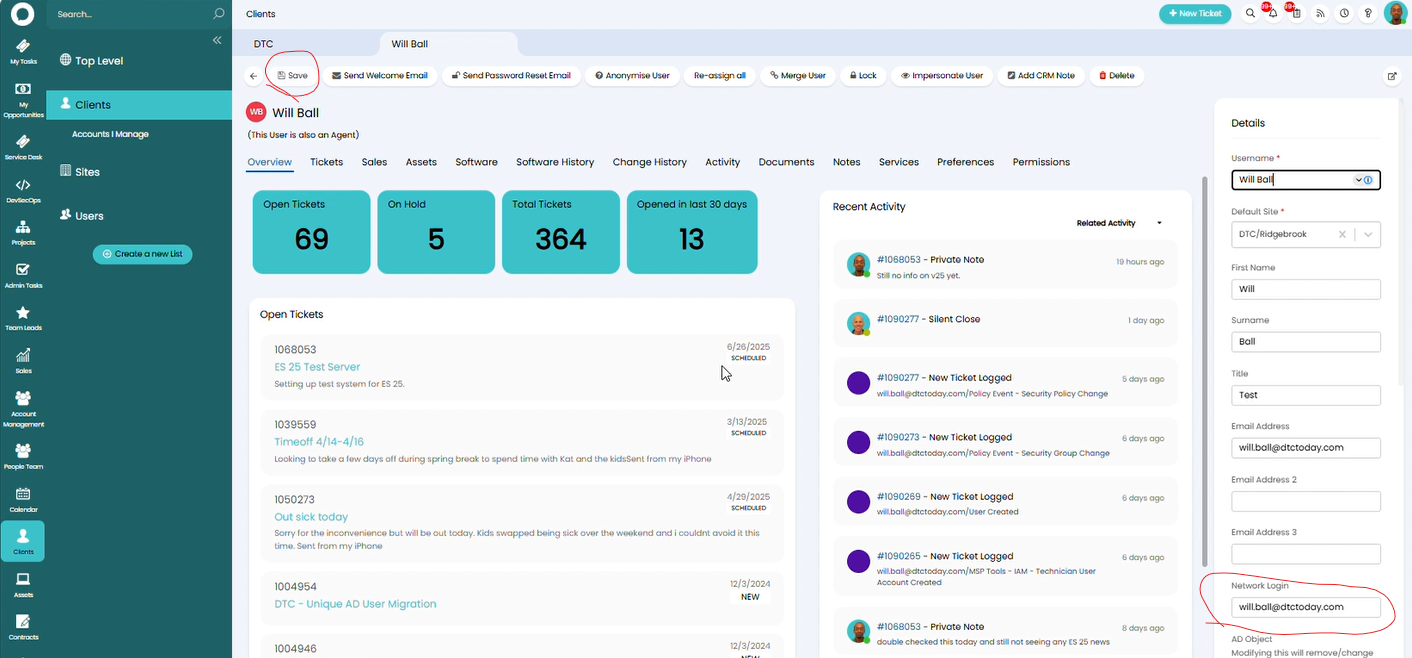
Add a Network Login to User
- Sign into HaloPSA and open the client in question.
- Under the client name, find the tab for Sites & Users. Search for the user and double click on it.
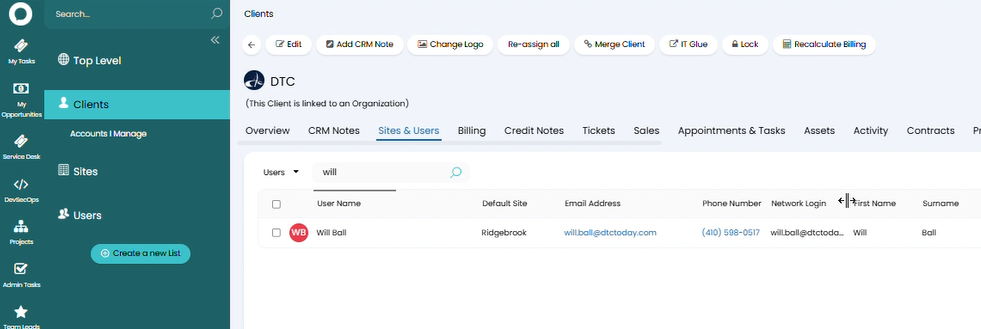
- Press the edit button at the top. On the right under Details, find the Network Login section and add in the users login. Can be %username%@%domain_name% or %NetBIOSName%\%username% format. Make sure the save once finished.